One Room Challenge: Wk 7, Bedroom and Ensuite- DIY Cabinetry Upgrades
It’s Week 7 of the ORC, and the Amazon shipping truck is stopping by our porch all the time! Our living room feels like a furniture warehouse, but it’s so exciting to see all of my design plans coming to life. This week we finally started our DIY cabinetry upgrade projects!
IN CASE YOU MISSED IT:
Here’s a tale of 3 wooden cabinets that were still functional, but looking too traditional, dated, & basic. I’ll show you my inspiration and how we are am updating our long dresser, bathroom vanity, and nightstands with DIY projects.
This Mid-Century 6 Drawer Dresser from West Elm is my inspiration for my long dresser DIY. The wood tones are similar to my piece. The slim hardware make this piece feel airy and simplified in design, and that’s exactly what my bulky, traditional dresser needs.
I found a similarly slim handle, but chose a nickel finish to repeat the legs on the new bed. You can see what a stark contrast it is to our dresser’s original, traditional, floral-like details. I hope these new handles stand out with all the carved details on the drawers!
What do you think of these Before & After photos? What a difference! Even my husband got excited- YAY. 1 mini-screwdriver, 9 new handles, and 40 minutes later our traditional dresser has a whole new contemporary look! —> DONE
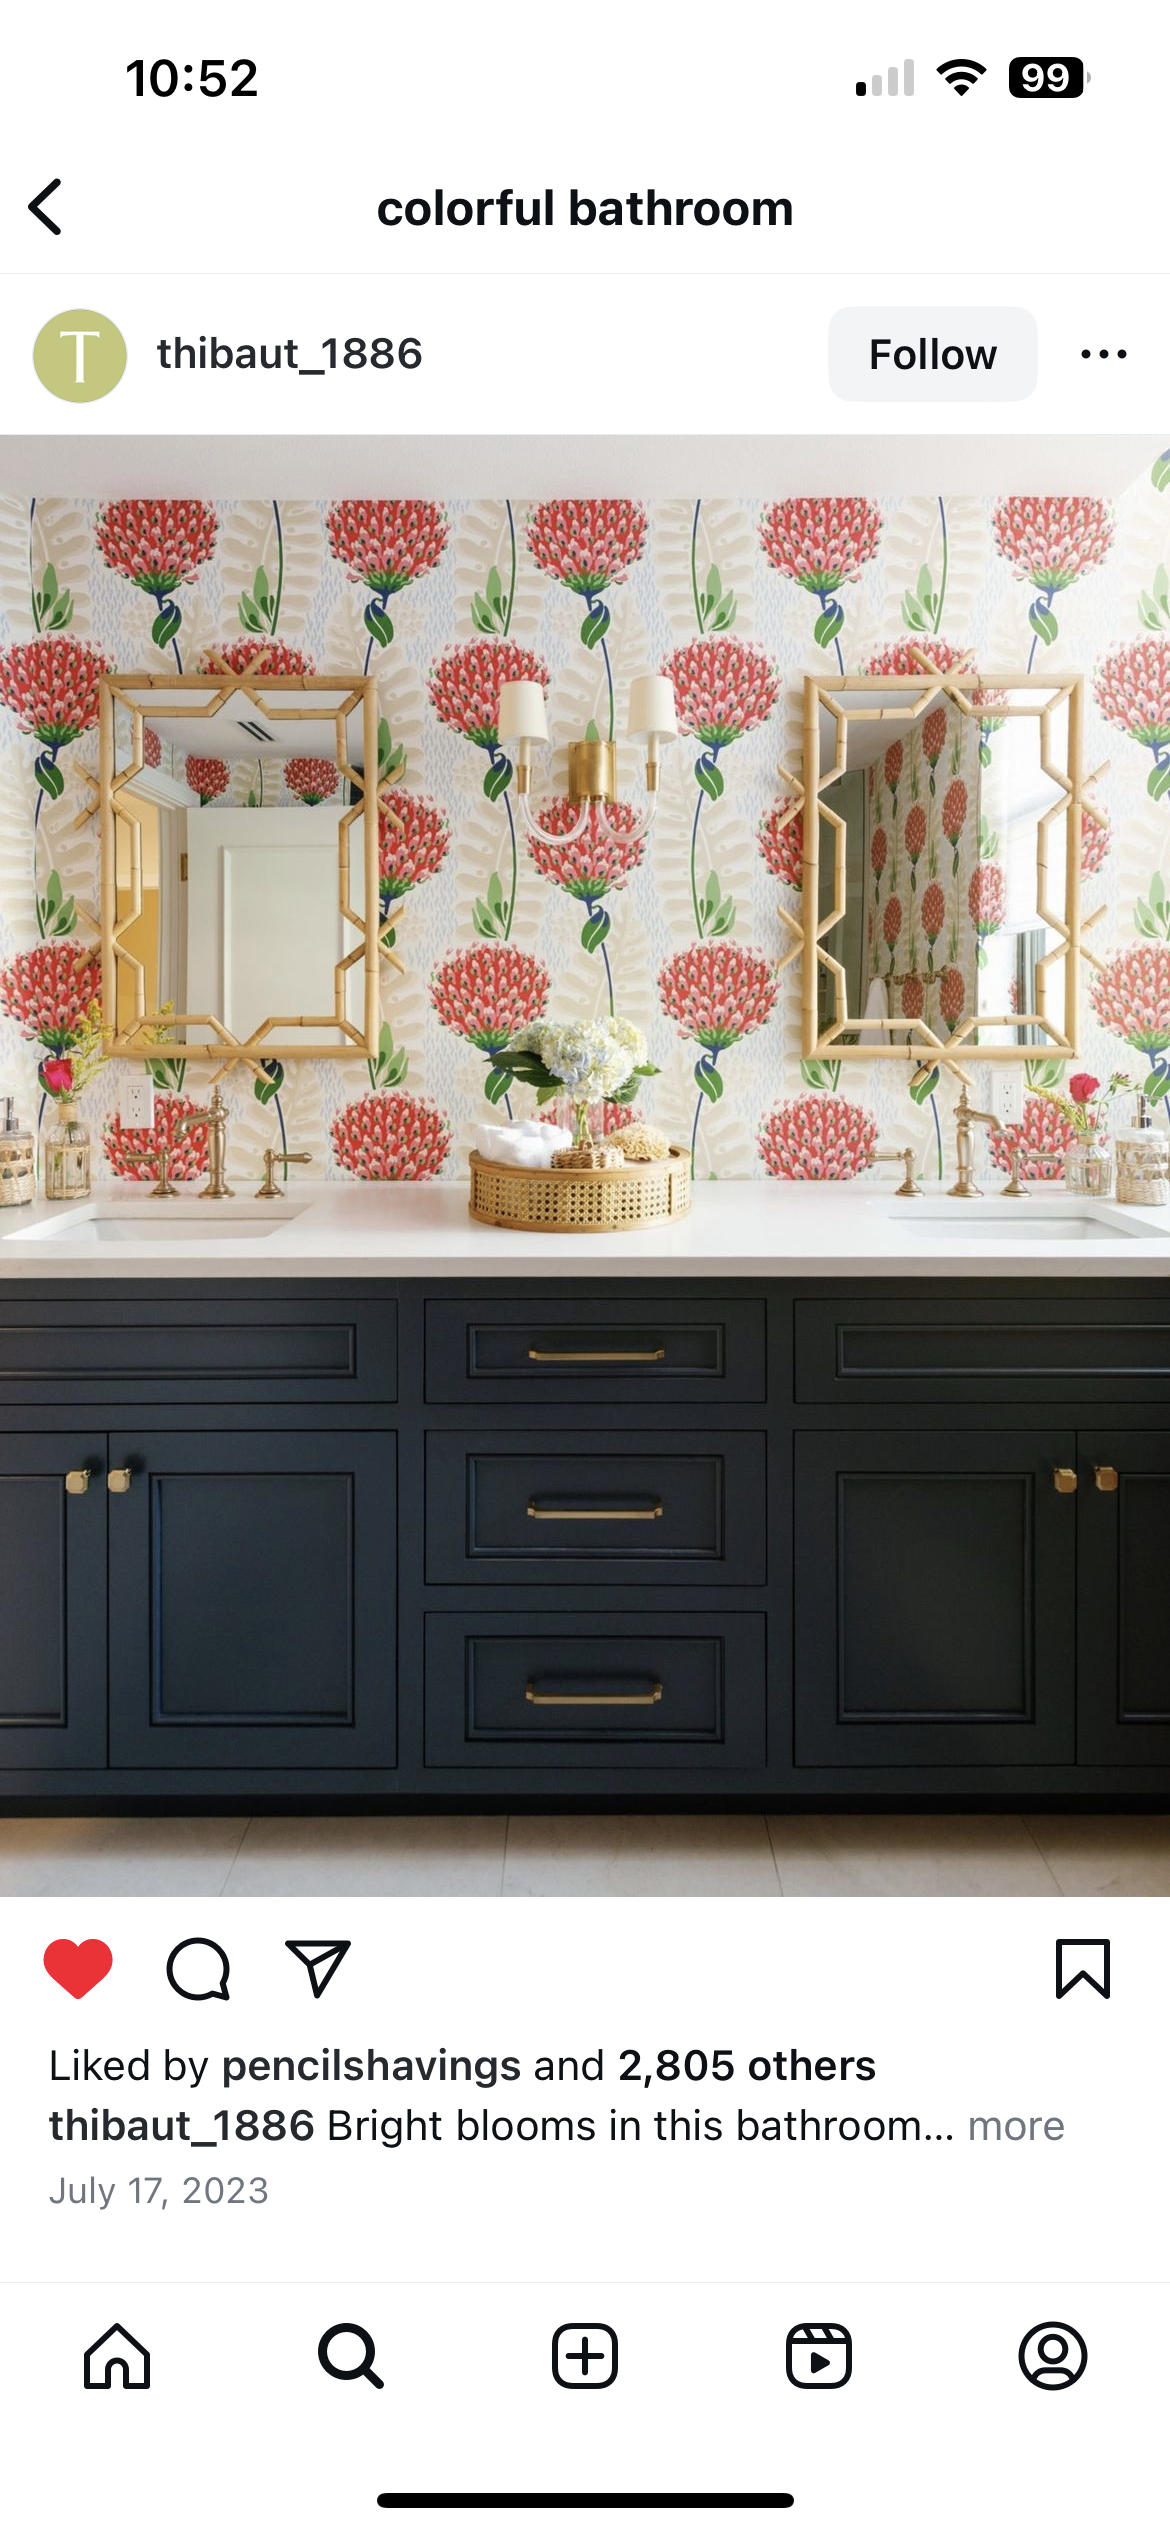
I was inspired by this deep, ink blue dresser. My goal is to create contrast in my room design, and this deep color just POPS against the white flooring.
My husband removed the doors and drawers. Then he took the whole cabinet outside to sand it down.
Then I confirmed the paint color selection. The walls are a mid-tone grey, and the floors are white (a light tone, per say). This deep blue is a dark-tone and will contrast against both surfaces. I wanted to make sure it was different enough from my bedroom’s new blue walls, so I taped it against my boys’ bathroom vanity, which is the same color, for confirmation.
Next my contractor, better known as my husband, primed and painted. Are you shocked by the bright blue in this progress photo? Me too! I just had to believe it will get darker upon a 2nd or even 3rd coat. (Also, this was under a white tent, so that may have affected the photo color rendering) —> IN PROGRESS
West Elm - photo by me
This fluted nightstand is the inspiration for my basic IKEA nightstands. Some people are calling this molding detail fluting, tambour, or reeding. Either way, it’s a subtle visual texture that turns a door panel from flat to 3-dimensional- and I like it. Personally, I’m a fan of fluted furniture detailing from the French Neoclassical Period. So delicate :)
Ready for an IKEA Hack? We bought a set of these nightstands on Craig’s List back in 2016. They fit just perfectly in our bedroom, without an inch to spare. When we moved to our next home, I ordered vinyl stickers from Panyl.com to brighten them up.
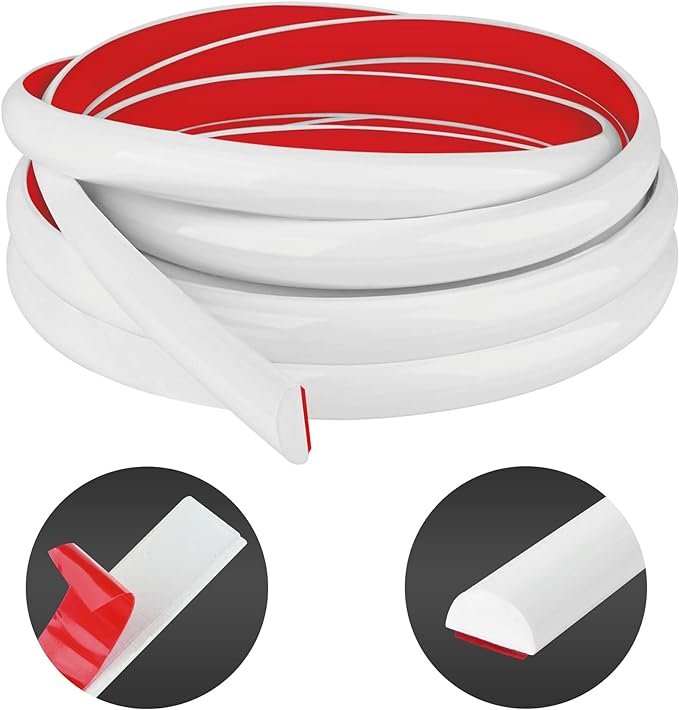
I’ll be using this self-adhesive trim to create that tambour effect. The are due to arrive tomorrow night by 9pm. I hope it’s a strong peel and stick product, as shown in their online images. —> NEXT UP
That’s the end of storytime :) I hope that my tale of 3 DIY projects has inspired you to take a second look at a piece of furniture you’ve had for years, and upgrade it to your current style!
There are so many wonderful designers participating in the #oneroomchallenge. Click HERE to hop over to the ORC blog and see all the Participants, including 166 Participants on IG, and more! !
Be sure to follow along with me on Instagram @sarahroseinteriorsco for all my behind-the-scenes in my IG Stories, and see you here next week!


